DIY Pool Lining Repair: Easy Fixes You Can Do By Yourself
Published Sept. 24, 2022
Summer is the time for fun pool parties, cooling off outside, and simply lounging around while basking under the sun. However, nothing can be more of a hassle than discovering that something is wrong with your swimming pool’s lining before you even take a swim.
In this definitive guide, we’re going to talk about everything you need to know about pool lining repair. That way, if ever your pool’s lining has an issue, you’ll be able to address it immediately.
Why Should I Learn DIY Pool Lining Repair?
Aside from saving a lot of money, there are several reasons to learn pool lining repair:
-
Possible Inground Pool Dangers
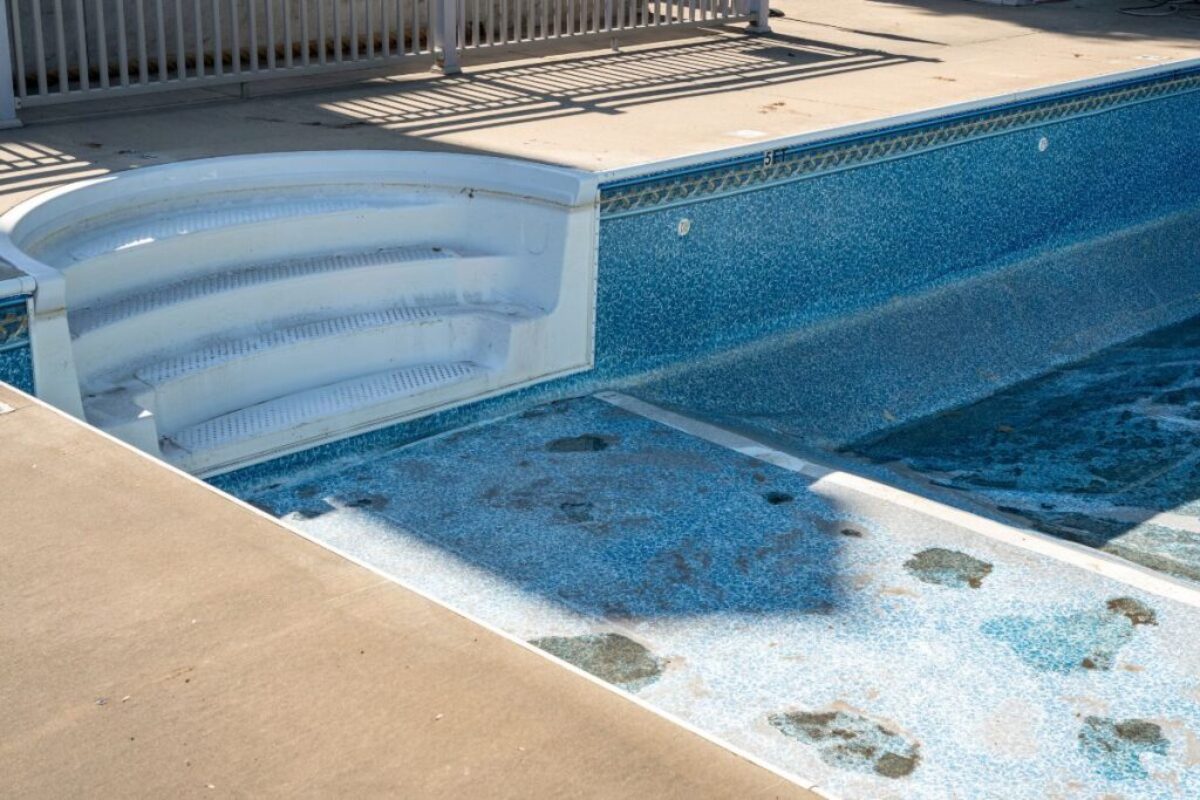
Leaks in your inground pool’s liner have to potential to cause lots of damage. The leaking water may create a hidden pocket of liquid beneath your pool’s deck or bring about soil erosion. If left unattended, this shall ultimately lead to instability and even cave-ins. When that happens, you’ll not be left with a pool to swim in at all.
-
Possible Aboveground Pool Dangers
When aboveground pools leak, water will drain until the level of the hole. In the event that the leak is located near the top rail, then your pool’s water level will only go down a few inches.
However, if the leak is located near the bottom of your pool’s wall or its floor, then you’ve got yourself a problem. Why? Because your pool might lose its water completely. In addition, the water loss might collapse your entire swimming pool.
How To Find Pool Liner Holes
First of all, you’ve to determine whether your pool is leaking or if it’s losing water simply due to evaporation. How do you do this? By using the bucket method:
- To start, you’ll need a bucket and some tape.
- Shut down your pool’s pump and heating systems.
- Apply tape to the top edges of your bucket.
- Fill the bucket with pool water until tape level.
- Mark your pool’s water level by applying tape to its walls.
- Wait 24 hours then come back.
If the water level of your bucket and pool match, that means you’re losing pool water because of evaporation. But, if the water level of your pool doesn’t match, then there’s a leak.
Now in case your pool is truly leaking, then your next course of action should be to find where the leak is coming from. To do this, you’ll need to perform a dye test:
- Purchase a pool repair kit.
- Shut down your pool’s pump and other water features.
- Wait until the water is completely still.
- Go to the nearest edge to where you suspect the leak is.
- Apply dye close to your pool’s wall.
When you’ve got the right spot, you should see the dye move towards the location of the leak and eventually dissipate. It’s there where you’ll need to patch up your swimming pool’s lining.
Now for those wondering, pool repair kits are affordable and rather easy to come by. You may find them at any pool store. Alternatively, you’ve also got the option to purchase them online.
Instant Pool Lining Fixes
There are 3 easy ways that you can utilize to fix your swimming pool’s lining:
-
Peel & Stick Patches
Peel & stick patches can be bought online for very cheap. They’re the best option if your pool’s leak is small. As the name implies, all you will need to do is peel the patch made of vinyl then stick it over to cover your pool lining leak. You may do this both above as well as underwater.
-
Waterproof Tape
Waterproof tape is very similar to peel & stick patches. However, waterproof tape is not really made to cover up pool lining holes. Be that as it may, it does the job wonderfully with no issue.
-
Pool Liner Patch Kit
The best way to plug up the hole in your pool’s lining is by using a pool liner patch kit. There’s a wide variety of options to choose from online. Each one works in basically the same way.
How To Properly Patch Your Pool’s Lining
Before even starting, it’s important to know that you should never patch up a pool’s lining when the pool has no water unless there’s no choice. How come?
Letting your pool drain can cause its walls to collapse. Also, doing so will expose the vinyl lining to damaging UV light or even cause an inground pool to literally pop out of the ground.
With all that said, here are the things you’ll need before starting:
- Pool liner patch kit or vinyl adhesive
- Scissors
- Weight (a brick or stone wrapped in plastic)
- Non-abrasive scouring pad
- Craft stick or dauber applicator
- Patching vinyl
- Pool goggles (when necessary)
So now that you know what you need, let’s talk about how to proceed step-by-step:
-
Clean The Affected Area
Debris, algae, sunscreen, and all other kinds of gunk that have stuck to your pool’s lining can mess with the adherence ability of adhesives. Thus, you’ll need to get rid of the stuff.
To do this, you’re going to need to gently clean the area where the leak is with a non-abrasive scouring pad. NEVER scrub since doing so might make the hole you’re patching larger.
-
Trim Out The Patch
Peel & stick patches come in uniform sizes so you won’t need to trim them out. However, if you are not using such patches, cut the patching vinyl to make a circle. Make sure that the circle is at least 2 inches larger than the hole you’re going to patch.
For instance, if the hole measures 2 inches in diameter, the circle you cut should be 4 inches.
-
Apply The Adhesive
If you’re using peel & stick patches, simply remove the paper backing to expose the adhesive side. Meanwhile, for all other patches, you’ll need to apply a decent amount of adhesive. To prevent your hands from getting sticky, remember to use a craft stick or dauber applicator.
-
Fold The Patch
The next thing you’d want to do is fold the patch with adhesive in half like how you would do so when making a taco. Make sure that the sticky side of the patch is the side that’s exposed.
-
Stick It Above The Hole
Submerge the patch and then hold it over the hole.
After that, gently open the folded patch while also smoothening it out. Hold it in place for around 2 minutes and make sure that any air bubbles get popped. Following that, don’t touch the patch as the adhesive will need more time to cure.
-
Apply Some Weight
A lot of pool liner patch kit manufacturers recommend putting weight over your patch for 24 hours to make sure the adhesive truly sticks.
Now we know that it is almost impossible to apply weight if your pool lining’s hole is on the wall. However, if the patch is placed on a spot where putting weight is possible, then we recommend that you do so.
What If The Patch Isn’t Working?
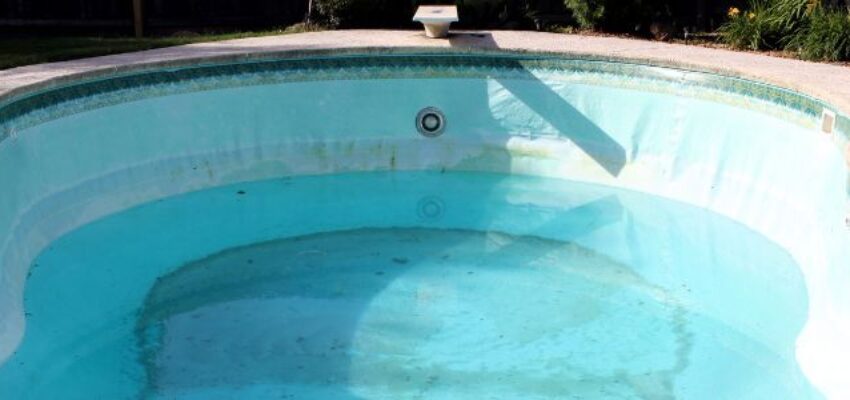
If your patch isn’t working, then your pool’s lining might have more than one hole.
At any rate, there will come a time when you will need to completely replace your pool’s lining. While this is arguably the last thing you’d want to do, it’ll be inevitable. Luckily, installing new pool liner can be done without the help of others with a tad bit of time as well as lots of effort.
That said, if you’re not up to the task, then you can always have it done professionally by us at a reasonable price. After that, it’s sure that you’ll not have any pool liner issues for the foreseeable future since pool lining typically lasts 5 to 9 years.
(Related: Pool Leak Detection: A Quick DIY Guide)
Hire Boca’s Favorite Pool Builders
Excel Pool and Patio Solutions is your trustworthy provider of pool services in Boca Raton. We are experts in pool and patio remodeling and can handle your resurfacing needs as well. Our technicians are vetted and trained for your guaranteed satisfaction. Get to know us by browsing our website or reaching out to us with any questions.
Contact our team today to request a free estimate for pool construction, maintenance, repairs and more.

Fact Checked By Experts
This is original content and has been diligently fact checked by our internal team of experts. Discover more about the rigorous editorial standards we uphold for our website here.

About The Author
Christian Cruz is an experienced blogger with a deep passion for the outdoors. He has a fascination with engineering that fuels his research for the Excel Pool & Patio Solutions blog.

